Tuesday, April 23, 2013

Fridge Coasters #operationorganization


Does anyone find keeping your refrigerator clean such a battle and chore?  I sure do!  How do refrigerators get so dirty so quickly?  And when I start to think about how dirty my fridge is I get the shivers and close the door hoping the cleaning fairy will come clean it for me.  So far, she hasn't shown up. 

So with the arrival of the new beverage center I thought it would time to fun up our fridge and clean it out.  I know it's fairly new but for some reason it already had crumbs in it.  Annoying! 

Here's a few before shots of the fridge.  Looking pretty sparse huh?


Pickles and Sprite Zero anyone?


Condiments, juice and milk on one side.


Our fridge is on the smaller size so my quest is make good use out of each and every square inch of this fridge. 

But I'll get to that later.  Check out these fun fridge liners.  There's a party going on in my fridge!


Aren't they fun?


I purchased them from a company call Fridge Coasters.  They are made up of recycled materials and you should replace them periodically as they get stained.  They are made of a cardboard like material.  But the great thing about them is no stain to clean on the actual fridge because let's face it, cleaning the drawers and compartments of the fridge is less than my idea of a good time.  So anyway to make the process easier is a win in my book.  Plus I mean look at the fridge, doesn't it make you smile?  They come in various sizes to fit your type of fridge. 
Next up, organizing the fridge.

Friday, April 19, 2013

Let's talk...beverage centers

Well our last appliance to purchase has arrived and is in! 
 
We, well ok ok, Jimmmm, did a lot of research on it.  We went back and forth about purchasing a wine fridge vs. a beverage center.  A wine fridge can either be just for whites or it can be a dual zone wine fridge that holds whites and reds and houses them at their appropriate temperatures.  The more we debated the options the more we leaned towards a beverage center.  A beverage center basically has a couple wine racks as well as some shelves where you can store beer, water, soda, etc.  It just seemed more flexible and more importantly would free up valuable refrigerator space. 
 
So beverage center it was. 
 
Jim and I both would pop in independently and together at the Yale Appliance Outlet Center in search of a beverage center.  Unfortunately, we couldn't find the deal of the century there.  Jim, the crafty researcher he is, found a website where Perlick (the Arien of wine fridges/beverage centers) sells discounted/floor models.  Lo and behold, we found "the deal of the century" for a Perlick beverage center (you'll typically see Perlick at restaurants and bars as these are mainly commercial items).  Just a call to Perlick and we had the item within a few days.  Jackpot! 
 
It is a panel ready and it is technically an ADA compliant beverage center so it's a tad shorter than normal but it was nothing that a filler panel couldn't fix.  And since it's panel ready + wrong pantry door cabinets that we got to keep once the new ones were installed = Jim's gotta another project added to his honey do list!
 
Finally the beer has a home!  And it looks all neat and tidy!


The two wine racks...and apparently Vitamin Water racks too...told ya it's a multi tasker!


The full shot.  Ain't it something??   Just wait till it has its panel on it...


We love it and I love the space we have back in our fridge.  We are ready for a party at a moments notice!  The pantry is inching there, little project by little project.
 
  • Paint radiator cover same color as cabinets
  • Paint shelves and shelving trim same color as cabinets
  • Select a wall color
  • Paint the walls
  • Install pendant light
  • Install crown moulding
  • Paint the trim
  • Paint the pocket door
  • Install the beverage center
  • Get the new cabinet doors (as they sent us the wrong ones originally) and install the chicken wire
  • Organize and pretty up the cabinets and shelves
  • Make a window treatment
  • Fix window trim
  • Make and install panel for beverage center
  •  

    Thursday, April 18, 2013

    Finally! New doors and hardware #pantryrenovation

    The new doors are in!  The new doors are in!  AND the knobs are installed!  Ok ok so the doors look slightly horrid right now especially since food is just thrown in there haphazardly and there's nothing in the middle of the doors but just wait till they have chicken wire in the middle....oooooh ooooh these suckers are going to go from ugly things to shining bright like a diamond cabinets.  Stick with us to see the project through and you'll be able to see my vision.


    Close up of the knobs...all antiquey brass and white shiny ceramic knobs.  I love them and I think they compliment the pulls.


    Small things happening but as I type this Jim is working away on the pantry.  Whata guy! 

    AND I get to partially cross something off the list!  Ahhhh God I love crossing things off...even if it is just partially:

  • Paint radiator cover same color as cabinets
  • Paint shelves and shelving trim same color as cabinets
  • Select a wall color
  • Paint the walls
  • Install pendant light
  • Install crown moulding
  • Paint the trim
  • Paint the pocket door
  • Install the beverage center
  • Get the new cabinet doors (as they sent us the wrong ones originally) and install the chicken wire
  • Organize and pretty up the cabinets and shelves
  • Make a window treatment
  • Fix window trim
  • Wednesday, April 17, 2013

    Finishing touches #kitchenrenovation

    Our general contractor came back from his vacation and finished up a few things.  One of them being the dishwasher panel.  We got the incorrect sized panel in the original cabinet order and it takes about a three week wait to get the corrected cabinet so needless to say we had one naked dishwasher....poor thing!  But it's naked no more thanks to a fancy new panel and pull.  I love how it blends seamlessly with the other cabinets.  And of course I love the chance to use the pull again.


    The cabinet baseboards were installed.  Just that little detail makes the cabinets look more complete.


    And I duck taped where our open shelves will go on either side of the window.  They'll be about 12" deep with wooden corbels holding them up.  The top shelf is higher up but this is where I'll put less used items like serving platters and pitchers.  Looking to the right of the window.
     
     
    To the left of the window.

     
    And a full on shot.  And yes those are dishes and glasses on our counters.  They're there for now until we get those bad boys installed. 


    Still lots of to do's that is now on our shoulders.  Here's a project breakdown to keep us accountable:

    • Make open shelves
    • Paint open shelves
    • Hang open shelves
    • Paint crown moulding
    • Paint back of peninsula
    • Hang roman shade
    • Finish under the upper cabinet of the coffee station
    • Paint trim
    • Second coat of paint on chimney
    • Touch up wall
    Till the next time!

    Tuesday, April 9, 2013

    Drawer liners #operationorganization

    Renovating the kitchen was a great excuse to finally organize it once we moved everything back in.  I never really had the motivation to organize the kitchen when we first moved in since we knew we would eventually be renovating it.  If I had known it would take us three years to pull the trigger on the renovation I probably would have done a better job unpacking and organizing when we first moved in.  Hindsight is 20/20 though right?

    Well, we're taking advantage of the fresh start and putting time and thoughtful consideration into where things will live.  I'm sure it will be a constant evolution until we find a system that works for us but in the mean time I'm having fun with it and looking for more ways to inject some fun, colors and texture into our otherwise neutral kitchen.

    So off to Sewfisticated I went in search of three different patterned fabric in fun colors.  Now it's a party every time you open a drawer.  I just measured the insides of the drawers, cut out the dimensions on the fabric and covered the fabric with clear contact paper I picked up at Staples.

    It was easy to do, just time consuming.  And it's far from perfect but I'm okay with it...trying to live by the motto of it doesn't have to be perfect to be pretty...anything that makes me smile gets an A in my book.

    This fabric is my favorite.  There's just something about it.


    We're still working on what will go in the drawers and a little more organization is in order for inside the actual drawers. 


    Last night Jim made some amazing chicken tacos on the range.  Isn't it so pretty and fun?  It's so nice to have the kitchen again and have fresh, homemade cooked meals. We're also having fun using serving pieces that were such a pain to get to in the old kitchen.

    Monday, April 8, 2013

    Counter tops and Shelving #pantryrenovation

    Well while I was out flitting around shopping with my mom, sister and niece and nephews this past weekend, my man was hard at work.  He got the counter tops installed and put up the shelves and trim to create the built in hutch look I was yearning for in there.  It looks awesome!  He did such a good job considering he's never installed counter tops before!  Way to go Jim!

    It was VERY hard getting good pictures in here with my little point and shot.  I wouldn't mind a nice new fancy camera with a wide angle lens if I'm going to be a legitimate blogger....some day...in my dreams....just putting it out there.....Anyhoo, below is a terrible picture of the amazeballs shelving Jim installed.  You may remember we had open shelves in this same exact spot but these are deeper, trim added to make it look like a built in hutch and all around better.


    Looking head on at the shelves.  I really tried to get a good shot with the cabinets and counter tops all in one shot #fail.  The shelves and trim will be painted the same color as the cabinets below and what is salmon colored walls will soon be a nice tan color (we think anyways...no color has been officially selected yet).


    Jim finished the top of the shelves with a solid board on top giving this area a more finished, furniture look to it.  There will be crown moulding at the top.  And excuse the ugly light.  We are waiting on the electrician to come back to install our pendant light we just received.


    Ahhhh butcher block counter tops how I love thee!  It looks so great with the cabinet color.  Such an affordable counter top option.  And we have enough left over to make a couple cutting boards.


    I probably should have moved the junk on the counter tops.  Apparently I was being lazy yesterday afternoon.


    And of course I have to give a close up beauty shot.  We finally ordered the beverage center so that should be getting installed shortly.  The counter tops come with one coat of conditioner so we will need to condition it once we are done working in here.  It's as easy as buying mineral oil from the drugstore and giving it a good rub down.


    And a shot looking in from the kitchen.  It looks so good!!!  DAH!  It's only the beginning on the pantry renovation but with the little we have done, I'm already in love with it.


    And yes our infamous paint swatch wall is back.  Anyone have any favorites in the crowd?  We narrowed it down to a tan/latte color for the walls.  We think it will bring out the cabinet color and the butcher block counter tops yet not compete with the burlap pendant.


    We have lots to do yet on this pantry makeover.  Here's the project breakdown:
    • Paint radiator cover same color as cabinets
    • Paint shelves and shelving trim same color as cabinets
    • Select a wall color
    • Paint the walls
    • Install pendant light
    • Install crown moulding
    • Paint the trim
    • Paint the pocket door
    • Install the beverage center
    • Get the new cabinet doors (as they sent us the wrong ones originally) and install the chicken wire
    • Organize and pretty up the cabinets and shelves
    • Make a window treatment
    • Fix window trim
    I think making a list of To Do's will keep us accountable and keep on track of what's been done and what hasn't.  Here's to hoping it works!

    Friday, April 5, 2013

    Floors #kitchenrenovation

    Well the floors are officially D-O-N-E!  We still technically aren't allowed to walk on them till Saturday morning but the flooring guys are done and I'm so happy with how they came out!

    We went back and forth on flooring and one thing we knew wanted was wide planked floors...like as wide as we possibly could get.  But everything we saw in Home Depot, Lowes or Lumber Liquidators maxed out at 5".  Then one of the general contractors who came to  give us a quote mentioned a place down the cape called Stonewood that sold reclaimed wide plank pine floors.  I think I stopped listening at the word reclaimed.  You all know my love of old things so my mind was made up...we were getting these floors..somehow, some way.  So Jim and I made the trek down the Cape one Saturday and we both fell in love (ok well maybe I did but Jim would just say they a'ight...they look the same as the floors at Lumber Liquidators.  Men!)

    We ended up getting a combination of 4.5" and 8" wide reclaimed pine floors.  These boards were planed out of old wood from a mill down south called Martha Mills.  It's pretty cool thinking our new-to-us floors have such a story to tell.  I love all the knot holes, the nail holes, and all the little imperfections in them.  I think they fit in nicely with the character of our old house.

    We used Varathane's Early American stain on the floors.  A nice brown hue that will darken with age.  The numerous coats of poly certainly make it shiny.


    Can't wait for our new back door to come in....if only Home Depot can get it's act together.


    It was hard to get good pictures since I was hanging over the threshold trying to get some pictures without stepping on the floors.

     We're hoping to get some progress done in the pantry or maybe the open shelves in the kitchen...who knows where the weekend will take us, I meeeeeeeean where it will take Jim! 

    Wednesday, April 3, 2013

    Let's talk...teppan yaki grills

    This is what I like to refer to as Jim's dream.  Anyone who knows Jim, knows he loves him a good Japanese steakhouse.  When we first started daydreaming and planning our kitchen, Jim stated he would love a teppan yaki grill.  I thought the idea sounded awesome and who am I to squash a man's dreams like that?? 

    Once the kitchen planning and appliance research got underway, we realized just how expensive the grills were and the chances of us getting that fancy grill was put on the back burner (get it???  burner???  no?  ok...moving on.).  But the stars aligned, the skies parted and we found a Gaggenau teppan yaki grill on a floor model sale at Kam Appliances.  My man was meant to get that grill after all! 


    For Jim's birthday I surprised him with a fancy spatula to use just for the grill, just like the chefs use at a Japanese steak house. 


    And Jen, Jim's sister, got him some fun paper chef hats (for catching all those shrimp he's going to be tossing in the air) and commercial salt and pepper shakers. 


    You gotta have the legit accessories if you're going to talk the talk of a Japanese steak house chef.

    So far we've used it to make an authentic Japanese steakhouse meal and it was better than going to one.  I made it to cook eggs and that was good but the eggs stuck a little and the clean up was a pain.  I can't wait to try out some pancakes on it soon.  Supposedly you can even boil water on it....not sure if we'll be trying that out anytime soon though.  When it's not in use we are thinking of putting a cutting board over so we don't waste any counter space. 

    The floors are being stained this week so we have had zero access to the kitchen or basement so no work has been getting done.  Hopefully this weekend, Jim will be able to work on something kitchen and/or pantry related.  I'll be shopping for baht mitzvah dresses for my niece Sophie...the sacrifices I must make ;)


    Monday, April 1, 2013

    Random post...getting caught up.

    Long time, no see!!!  Sorry for the absence....Mama Staunton, Jim and I were working like dogs last week trying to get the house ready for Easter entertaining.   Man am I sore!  I'm not used to daily physical activity since my normal routine is being stuck behind a computer for 8+ hours a day.  But Easter went great and it feels good to be amongst the normal people again with a nice, clean house!  Well at least for a couple days as our house will get messy again this week due to the sanding and staining of the floors. 

    We have been taking our new appliances for a test run to make sure everything runs the way it should.  Or it could be just Jim's excuse to try out the tappen yaki grill.  Below Jim is practicing his onion flipping skills.  This only took about 10 tries to get the money shot but not bad.


    And the penny tile was installed and to say I'm in love is an understatement!!!!!!!!!  I just love the way it shines when the light catches it!!!!  LOVE LOVE LOVE LOVE LOVE!!!!  I think it goes with the granite and the wall color. 


    And the tiled back splash against the range wall.


    A close up from the side.


    Ahhhh I'm so happy with it!


    And the wall looking into Lady Land.  Just wait till we have the open shelves up.  Then the walls hopefully won't look so empty.


    And we stopped the tile right where the peninsula ends.  The tile guy did such a nice job.  I stare at it constantly. 

    And here are 4 out of the 6 kiddos for our annual Easter egg hunt right before we let them run wild.  Aren't they so cute???


    There goes Jake in his brand new teal jeans.


    Avery and Evan going crazy scooping up all the eggs they can get. 


    And there's AJ and Jake on the hunt.


    And afterwards!  Man did those kids clean up or what??? 


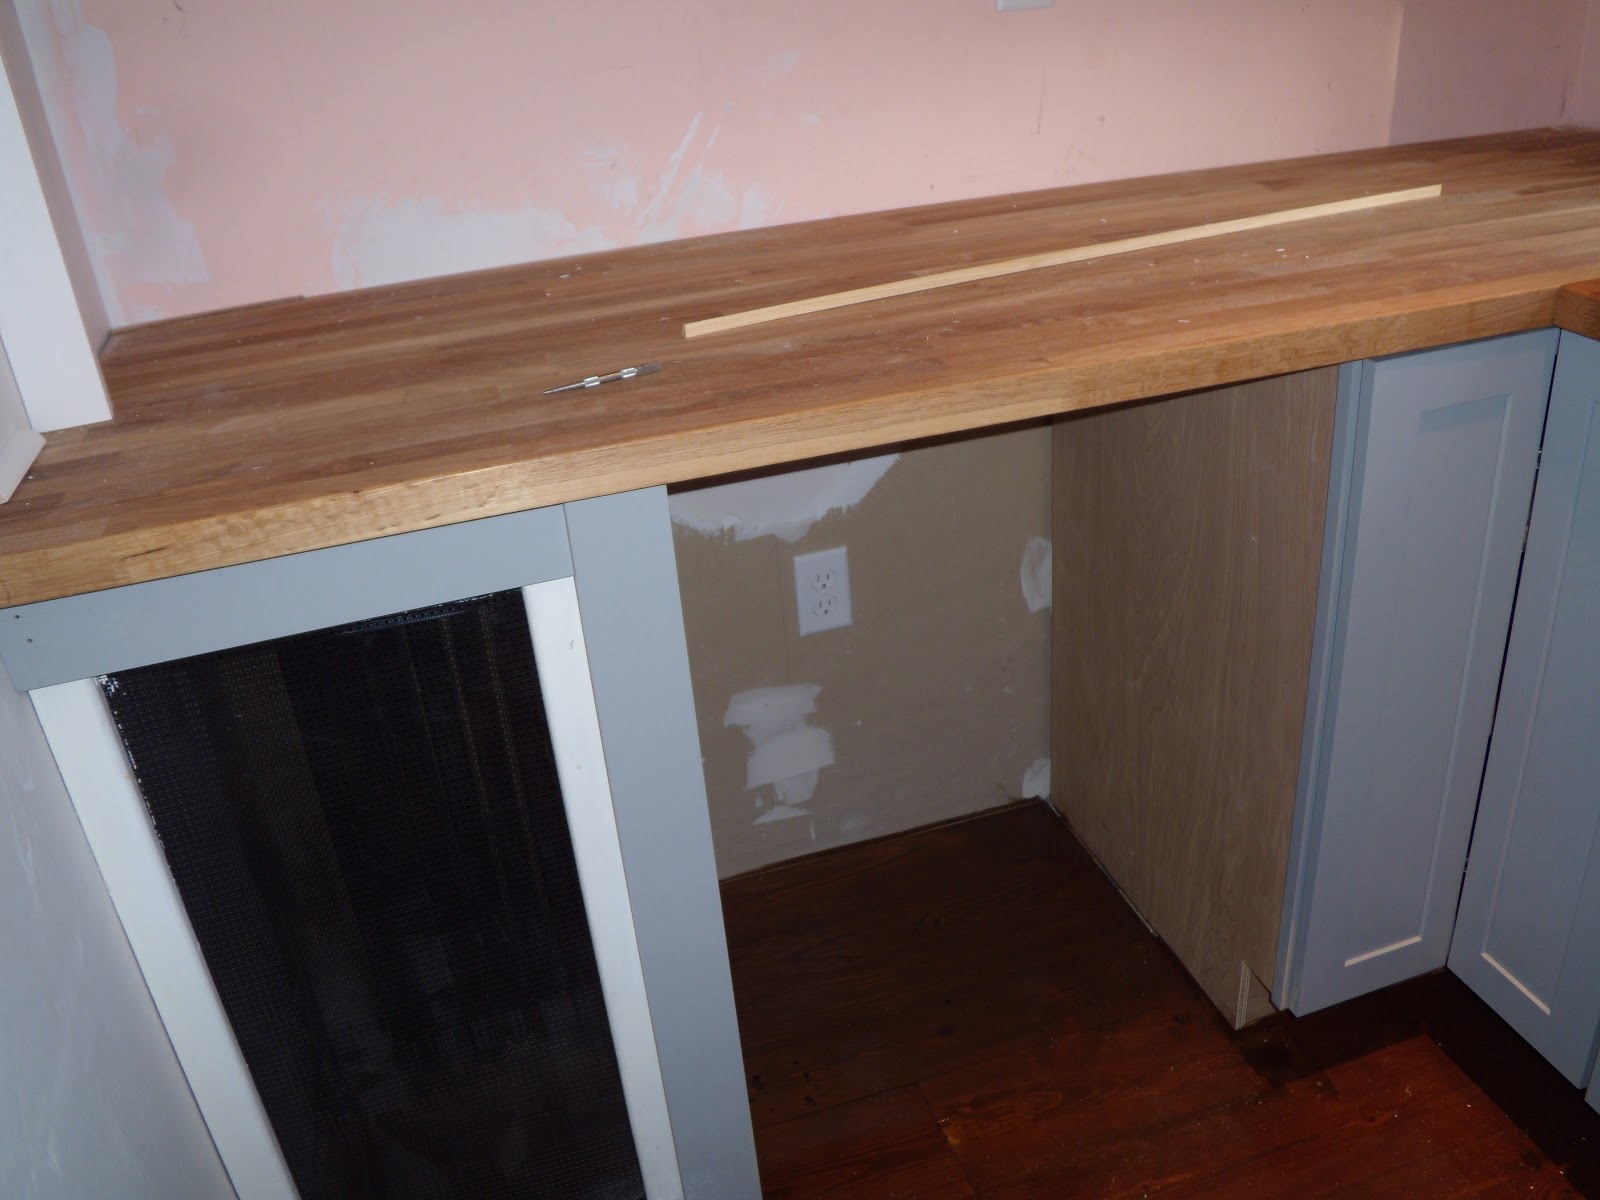
    Overall entertaining in the new kitchen was great!!!  There's so much more room to move around in and no more fighting for oven space.  It was awesome and looking around on Easter really made my heart swell with gratitude for all that we have. 

    Floors are getting stained this week so back to no kitchen for a full week.  More updates to come!