Friday, March 8, 2013

Day 9 #ktichenrenovation

Ahhh!!!!!!  It's beginning to look like a REAL LIVE room!  The drywall is UPPPPP!!!!  U.P. uppp!!!  Well, I guess I should be technical and correct myself when I say drywall because it's actually blue board but details, schmetails.  So if you're wondering why the walls are a dark gray instead of a nice crisp white, it's due to the blue board.  Apparently, blue board is stronger but more expensive than dry wall.  It's supposed to last longer than dry wall which is a good thing...who wants their walls to be weak???  Not me.
 
Below you is the wall to Lady Land.  The left hand window is gonzo....you would never be able to tell it was once there.  The right hand is the pass through but it will be shorter!  I swear!  Because I'm sure you're all thinking what have they done?!!?  Have the Hasty Horne's struck again!??  Fear not my friends I promise it gets better....stay tuned in the next few days for updates.


Looking towards the back yard.  I guess Mike said we have an abnormally high number of electrical outlets and cut outs.  Ooops!  We needed those extras for our TV and coffee pot...girl needs her Extra on while eating dinner.


 Here's a shot of the ceiling...isn't she purrty??
 
Looking towards the dining room.


 The old hallway  the new addition to the kitchen!!!  Doesn't it look so much bigger and better??!?  I can't get over how much bigger the space is just by knocking down that wall.

The closet is now blue boarded in.  Not a huge closet but it's going to function so much better than the old closet ever did.  And that door will be gone.  We just put it back up during the construction to keep the dust out of the rest the house (well, at least SOME of the dust).
 
The yellow wire sticking out is for the vent hood and the silver pipe poking out from the ceiling is also for the vent hood.  The chimney just pops now....so so so happy with our decision to expose it.

 
This is in the pantry looking towards the kitchen.

 
And looking towards the pantry.

 
More updates to come tomorrow...

Wednesday, March 6, 2013

Let's talk...counter tops!

So many choices of counter tops!  It took us a looong time just to figure out that we would go with granite.  Then from there it took us a while to narrow down the color.  I wanted a white based granite (well what I REALLY wanted was marble but one, it was just too expensive and two Jim shot it down very quickly) while Jim wanted a beige/brown colored granite.  I had to use my magical powers to convince Jim to go with the white based granite.  I had seen kashmir white in stores and I was always drawn to the white, grays and the specs of red it had in it.  Someone recommended that we go to a stone yard called MSI International.  This was the best thing we did.  The selection there was enormous that I felt like we had seen every stone that was ever made.  It was also helpful to see the slab in person so we could see the movement of the stone and how the colors were dispersed through out the slab. 

Once we decided on the color, we got prices from a few different stone stores.  The bummer thing was due to the square footage that we needed for the counters (60 sf), we would need to use 2 slabs of stones.  Having to jump up to two slabs would mean the price of the stone would increase.  Each slab can fit about 50 sf of counter space so we were so close!  Ugh!  We ended up getting a great deal at Stone Depot, located in Dedham, MA thanks to a referral fee discount, (thanks Krissy and Lou!), Jim's rico suavey negotiating skills and the fact that we would get a discount if we paid all in cash.  Never hesitate to ask about cash discounts as some vendors will give you some sort of discount.  Worth a shot asking.


I really think the kashmir white will pick up the gray in our kitchen cabinets, the white is neutral and the red will pick up the wood from the kitchen floors. I just love it...great alternative to my first love of marble.

Now on to the pantry.  I knew I wanted a different look than what was going on in the kitchen.  The cabinets in the pantry were a darker gray than in the kitchen and the look was more kitchy country with chicken wire cabinets, burlap lights and paisley curtains.  We also didn't want to spend a fortune on the pantry since it's not a room you see all the time but still wanted to look cute and flow with the kitchen.  So of course my first instinct was to look to Ikea for an affordable option.  Jim and I both loved the look of butcher block so we decided to use it in the pantry.  Since there won't be in the sink in the pantry we didn't have to worry about the high maintenance that is associated with the butcher block....just rub some mineral oil every couple months to keep the wood from drying out and it's good to go.  We went with the Numerar butcher block counter top in oak.  We did have to get two slabs due to the size of the pantry but we will have left overs that we'll use to make cutting boards.  Waste not, want not!

The last counter top we had to figure out was for the laundry nook.  We are still unsure of the set up of that lil room (stacking the washer/dryer vs. side by side with a counter over the appliances).  But either way we will be having a counter where I can fold clothes.  We knew we wanted to reuse the soapstone counters that were in the kitchen so we decided to use it in the laundry nook.  Depending on how we set up the washer/dryer we may have to cut it.  Stone Depot said they would cut it for us for a fee if we bring them the stone. 


Hopefully I don't get caught in this nasty storm that is scheduled to hit Boston today through Friday.  Lots of updates in the kitchen to  update you on...Till then!

Tuesday, March 5, 2013

Let's talk....sinks.

I'm away on business through Thursday (pending the storm...doesn't mother nature know the groundhog saw its shadow a month plus ago???  Hello?!) so there won't be any updated pictures till Friday.  Jim is in charge of taking pictures....GULP!  Let's just say he didn't leave me with much confidence that he knows how to operate our camera.  He claims he doesn't really know how to use a camera since he never had one.  Who knows!

Farmhouse sinks!  I love 'em!  Nothing more to say!  Well there is because otherwise that would be a boring post.  I love how big they are and the white fire clay material.  The original farmhouse sink is made by Rohl but those were a tad more expensive than my wallet was willing to pay.  I was able to find one on EBay that was more than half off a Rohl and with free shipping.  We got a 30" wide single basin sink with an off-center drain.

It will lie under the granite so that means the sink has to be installed before the granite company comes to template.  Good thing I bought it a few months ago!

The next sink we had to purchase was for the laundry room.  I had seen a sink at Ikea that would be perfect so of course that meant a trip to Ikea.  Jim HATES Ikea so you can imagine how hard it was for me to convince him to take a trip there to check it out.  Good thing the Swedes invented the swedish fish...those usually makes him semi-happy.  The sink was perfect for so many reasons.  It was super deep (26"), I loved the stainless steel AND I could get my wall mounted faucet since the sink didn't have a faucet hole in it.  Another reason I loved it was that we didn't have to get a counter since the sink just sits on top of a 24" sink base cabinet....sooooo, savings! 


With the sink you do have  to buy a strainer since it doesn't come with one.  #stupidhiddencosts

See ya back here tomorrow...same time, same place, mmmkay?

Monday, March 4, 2013

Let's talk...refrigerators!

Ahhh fridges...big ones, smalls ones, side by side, french door, etc., etc., etc...When we first started this process, all I knew was that I wanted BIG (The bigger the better in my book) and a side by side.  I knew I did NOT want the freezer on the bottom because I never thought you could find anything in the freezer since it's basically a chest freezer. But my dream lasted ooooh 5 minutes when it was quickly shattered by Mr. Practical (aka my husband).  Why do men always have to be so practical???  Can't they let our dreams live a lil longer than 5 minutes???  Anyhoo, I'm getting off topic here.  Refrigerators.  We spent months (ok, I kinda made us spend months) researching and shopping since it had to fit a couple key criteria:  professional handles, counter depth, had to look built in, couldn't be wider than 36" since we wanted to keep as much counter space as possible, side by side, and oh yeah, couldn't cost thousands and thousands of dollars.   During the search I realized that if I couldn't get a big fridge, then having a side by side didn't make sense because the one we have now is a side by side and I think the freezer is super skinny and I basically can't even fit a plate in there let alone a big ice cream cake.  So I accepted the fact my dream was gone and we started looking at french door frigs.  Then I started being picky about the drawers...no wire drawers, had to pull out, etc.  I was basically becoming unrealistically picky and I do think Jim may have wanted to strangle me...God bless his soul.

Enter the Jenn Air.  It had professional handles that you could purchase as well as grill that would make the refrigerator appear built in like it's more expensive counterparts such as the Subzero. 


Interesting fact.  This refrigerator is made by Amana (the appliance division is owned by Whirlpool) and this same exact fridge is also sold by Kitchen Aid and Viking with each having a different price point.  I'm sure you can guess which one was more expensive...so a lot of times you really are just paying for the brand name.  Jenn Air was offering really good rebates which was a huge factor in our decision but I also liked the fact that I could upgrade to the professional handles for a nominal fee.  So I was getting the look for less!  Awesomesauce!

Sunday, March 3, 2013

Let's talk....faucets!

Faucets, Faucets, FAUUUUCETS!  Who loves faucets??? Anyone?  Anyone?  I do! I do!  Jim...eh....Sammy does!  Sammy does!

I've been drawn to the industrial/farmhouse look like a lot and I was hoping to incorporate the industrial side via the faucet.  When I first saw the industrial faucet at Ikea (which apparently they don't make anymore) I knew that I would love to use that faucet in the house one day.  So when it came time to start researching faucets, I realized how expensive it was (I know shocking coming from Ikea right??).  Thanks to researcher Jim, he found a nicer, bigger and better faucet online.  It wasn't that much cheaper but it was better constructed (made of solid brass, which is the material you should look for in a quality, long lasting faucet, as it won't corrode.) 

Ok ok...enough blabbing...here she is (yes it's a she...with those long slender and sleek lines how could it not be a she?)


I LOVE this faucet!  It's heavy, it's all shiny, chrome-y, I could go on and on but I'll spare you all with my mushiness.  It's pretty tall (29") and has a separate pot filler which is a great feature.  Doesn't it remind you of restaurant dishwasher faucet?  At first Jim was opposed to this faucets for numerous reasons (his first words when I showed him the faucet was "That's DIFFERENT....".  Which is code for he hates it and thinks I'm cray cray....but he usually comes around in the end.) but the main reason being was he was getting flashbacks of sinks full of dirty dishes from his dish washing days at The Marketplace. 

So to bring it back to the look I was going for, I think faucet brings the industrial side while the apron sink will bring the farmhouse side, which ties up my industrial farmhouse chic vision nicely.

Moving on to the laundry nook faucet.  I wanted to push the boundaries here and go with something unique.  I have always wanted a wall mounted faucet so I thought why not try it here?  I was perusing blog land one day and I saw someone use a wall mounted claw foot tub faucet as a laundry sink faucet and there was no turning back.  I'm sure you can guess what Jim's response was when I showed him this one...."That's DIFFERENT" and some other things that I probably shouldn't repeat here on the blog.


I was able to find just what I was looking for and within my price range off of EBay (We have a gotten a good amount of deals for this renovation and other house projects off of EBay...a great source for deals).  I love that it has a hand held faucet that I can use for cleaning paint brushes or giving some plants a bath.  Heck I could even give Sammy a bath in the sink and that hand held faucet would come in handy.  There were some minor (squeak!) crisis over this faucet the night before the plumber was coming to install it.  The spout reach was too short but I swear I measured (twice even!) before I bought it but as many times as I measured the sink and the faucet it was still too short.  Thank God, Mike said there were extenders the plumber could install that would make this faucet work.  So there was an additional cost by having to use those but man it was sooo worth it.  I just love it.

Check back tomorrow for the next installment of Let's Talk....

Saturday, March 2, 2013

Day 8 #kitchenrenovation

 
The book shelf was built and some other minor things occurred.  The bookshelf is EXACTLY what I was picturing....bead board goodness in the back and numerous shelves to put tons more chotchkies on.  Now the question is what to put, what to put....maybe milk glass?  maybe jars filled with buttons?  maybe some random goodies???  I'm not sure yet but all I know is that antique and thrift stores are whispering my name and I'm about to answer them.


Here you can see the two "windows" together.  Things are really starting to take shape and our vision is starting to come to life.  Kinda hard to believe it's all still really happening (well our bank accounts would beg to differ...minor detail! ha!)

 
Here is the view from the kitchen looking towards Lady Land. Soon you won't be able to see the back of the shelf as that will be covered by cabinets and the refrigerator.


The next two are just new sub floors for the closet and the entrance to the pantry.  The old wall used to be in these places so there were holes in the sub floor that Mike had to fill in.


If you look at the very top of the picture below, you can see the hole at the top of the chimney.  This is for the range hood's vent.  Come to find out code does not require you to have a vent but the appliance salespeople beg to differ and most definitely push you towards buying one.  Guess we were those suckers who believed their spiel.   But they sure do look pretty!  That counts for something right? Right?


Guess the inspector was a smoke break but wanted to make sure everything was up to snuff (and he wanted overtime...he will work for bones)

 
On Monday the drywall should begin!  Dah!!!  Maybe then it will start to look like a real room as opposed to the demolition site it is now.  Till next time...

Friday, March 1, 2013

Day 7 #kitchenrenovation

More plumbing and electrical work today.  Great news...we passed the plumbing inspection! #seeoldhousesdorock!

Here you can see the gas pipe that will be for the gas dryer...gunna have to get creative with how to disguise it or just work with it as it has a slight industrial look that fits in with the other exposed pipes and beams that are all through out the basement.


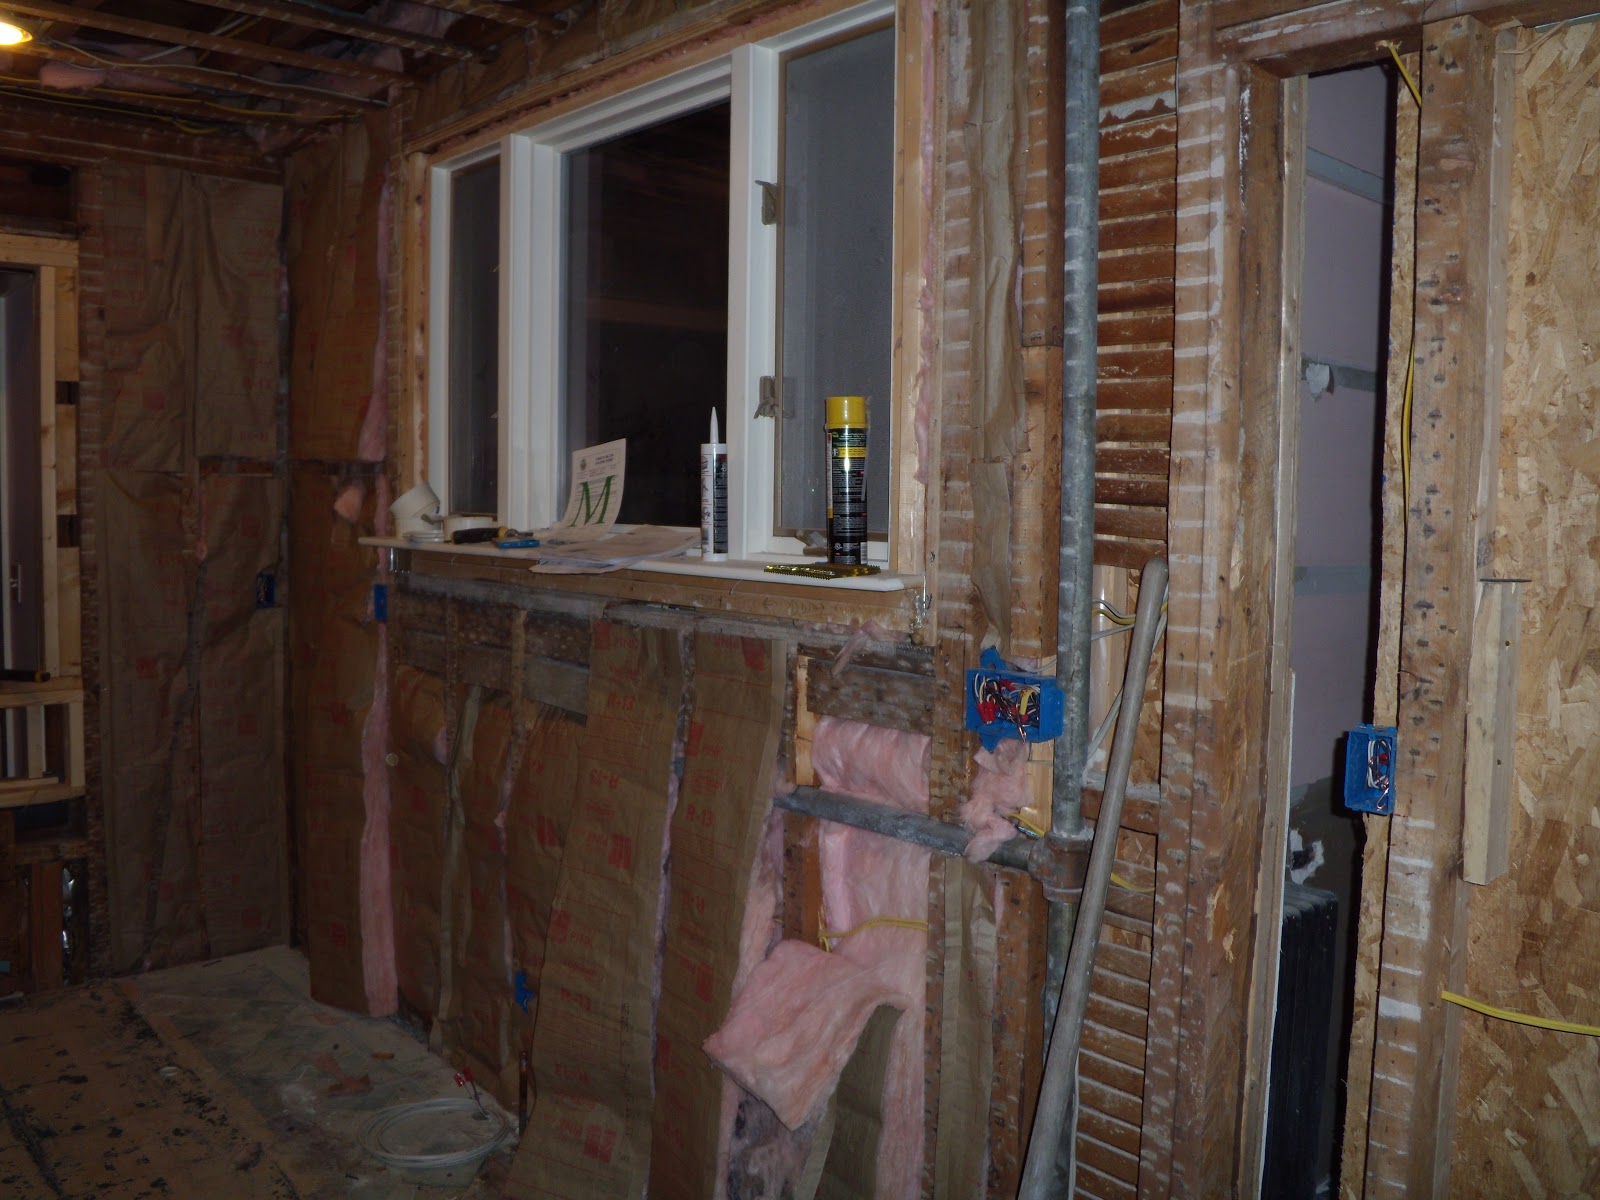
Moving up to the kitchen, the windows are G-O-N-E!!!!!!!!  It seriously makes the room feel so much bigger and open.  I love that you can see into Lady Land.   The left window will be where the refrigerator will be situated so that will be blocked up...I know people are probably thinking, why are you getting rid of all that natural light and won't that look weird/ugly on the Lady Land side of the wall???  Well one, we don't have a huge kitchen to begin with so we really had to squeeze every last inch we could out of this area and second do you really think I would ever let Lady Land look ugly?!  Puh-leeeasee!  I don't think so!  Mike will be building a shelf on the Lady Land side.  It will be a four shelf unit with a bead board backing...hello more knick knacks...come to mama!!!!  The right window will be open to Lady Land and it will be made into a pass through.  The granite will extend out into Lady Land with bead board and two corbels underneath the granite.  This will be really great come grilling/outdoor living time since I can just pass things to Jim instead of walking allllllll the way around through kitchen, the dining room and lady land just to get to outside.  Seeeee, we didn't totally get rid of  all that the natural light and open and airy feeling we want for this room.


Here is the Lady Land side of the pass through.  Some of the bead board is up so you can kinda get a better idea of what I was talking about above.


The soon to be shelf on the Lady Land side.  The wood for the shelf is leaning against the wall.  Jim really loves photo bombing #handsoffladieshesmine!


And we fiiiiinally have insulation!!!!  Wooohooo!  Our liquid dishwasher used to freeze and we always wondered why....well, we always suspected there was no insulation.  Turns out we were right.  Now maybe I won't have to wear 5 layers of clothing while hanging out in the kitchen.  But man, the fumes coming from the new insulation were something fierce!  Smelled like burning rubber.  Yuck!


The other hole in the chimney got bricked in.  Come to find out, the mason didn't want to replace the holes at the same time as he was slightly nervous that some of the other bricks would come out.  The chimney isn't going anywhere so need to panic but let's face it this is a 90 year old chimney...things are bound to get a lil' crumbly.


Until tomorrow...ciao!